
Starting a printed T-shirt business from home can be a low-cost and profitable venture if done right. Here’s a step-by-step guide to help you get started, even with little experience.
🧾 STEP-BY-STEP GUIDE TO START A PRINTED T-SHIRT BUSINESS FROM HOME
Step 1: Research & Plan
✅ What to Do:
- Identify your niche: Choose a target audience (e.g., gamers, moms, fitness lovers, funny quotes).
- Check competitors: Look at other T-shirt brands in your niche. Learn what works and what doesn’t.
- Decide your business model:
- Print-on-demand (outsourced printing & shipping)
- DIY printing at home (you print and ship)
📌 Tools:
- Google Trends
- Instagram/Pinterest for inspiration
- Etsy, Redbubble, or Amazon for niche research
Step 2: Choose Printing Method
🖨️ 3 Main Options:
| Method | Equipment Needed | Pros | Cons |
|---|---|---|---|
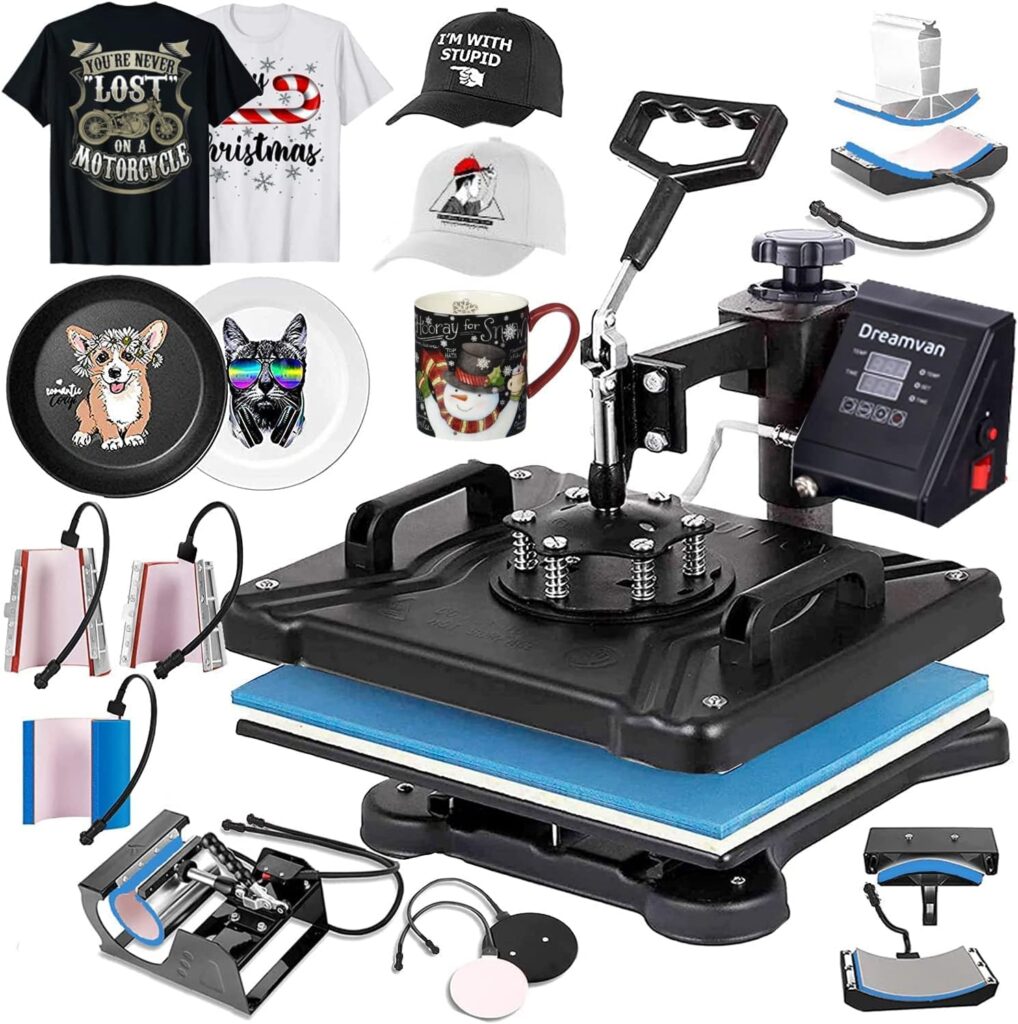
| Heat Transfer | Heat press, transfer paper, printer | Affordable, good for beginners | Not as long-lasting |
| Screen Printing | Screens, inks, squeegee | Durable, good for bulk | Messy, learning curve |
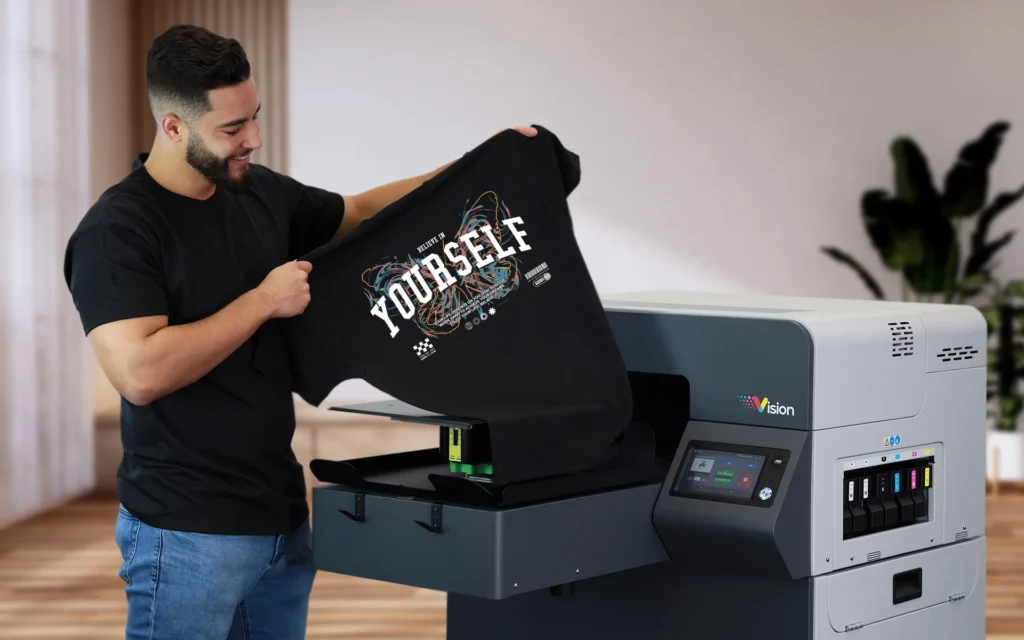
| DTG (Direct-to-Garment) | DTG printer (~$5k–$20k) | High quality, detailed designs | Very expensive setup |
👉 Best for beginners: Heat Transfer or Print-on-Demand
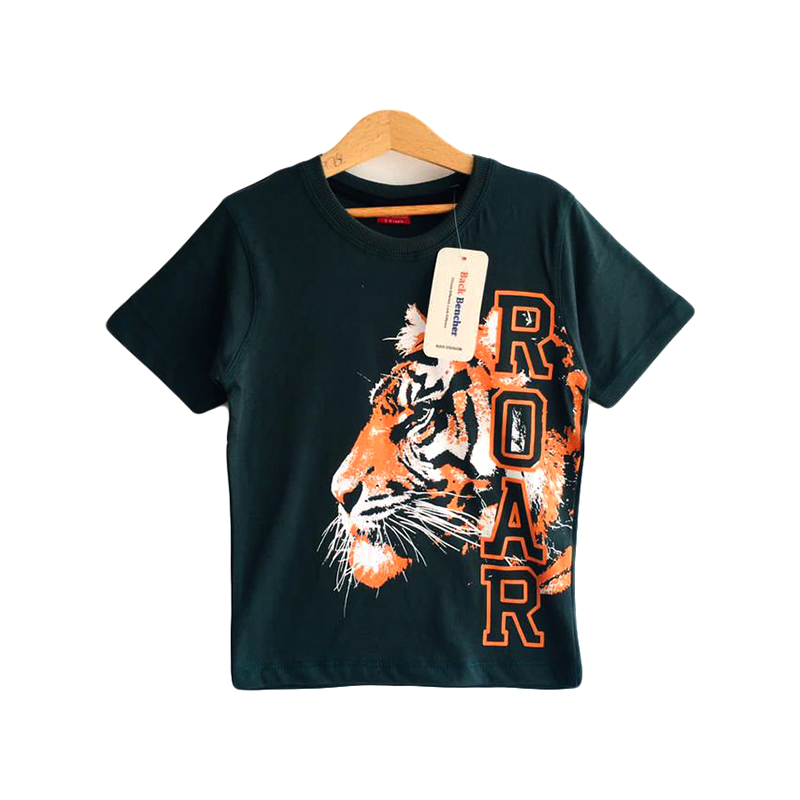
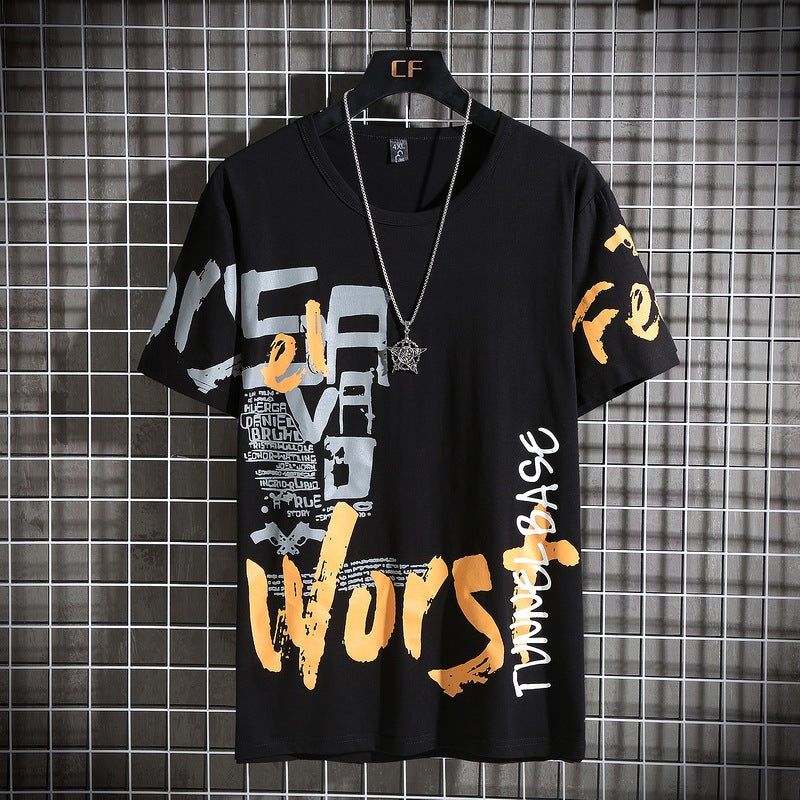
Step 3: Create T-Shirt Designs
🎨 How to Design:
- Use tools like Canva, Adobe Illustrator, or Procreate
- Hire freelancers on Fiverr or Upwork
- Make sure to use copyright-free elements
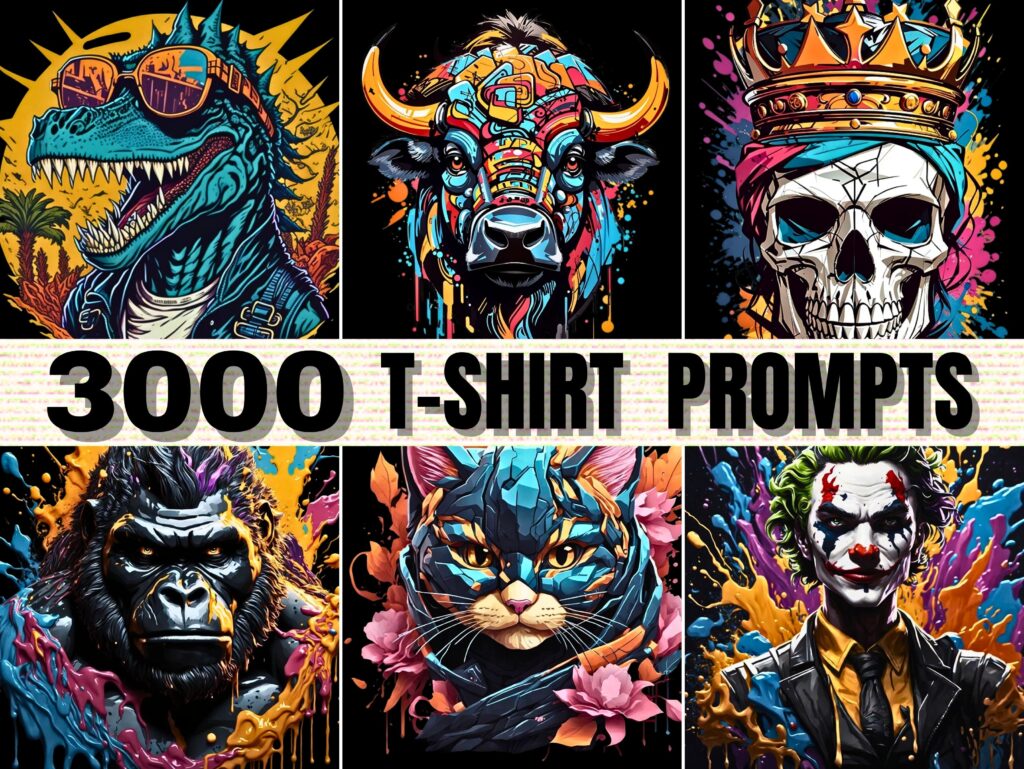
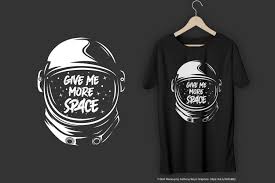
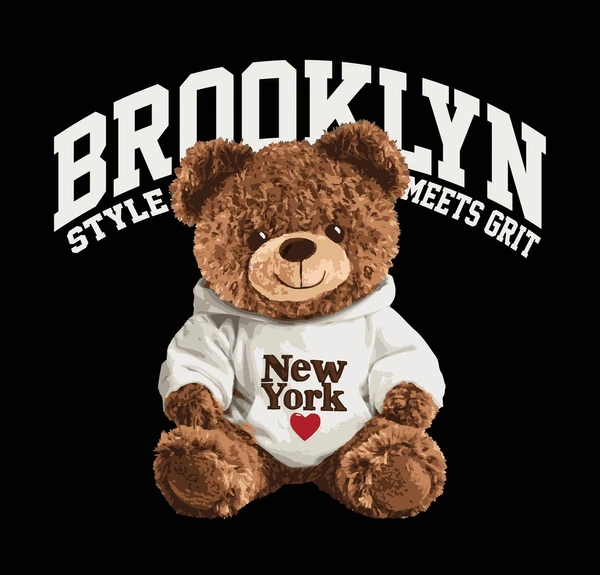
💡 Design Ideas:
- Quotes
- Minimalist art
- Pop culture references
- Local pride themes
Step 4: Source Blank T-Shirts

👕 Where to Buy:
- Wholesale websites:
- JiffyShirts
- Bella+Canvas
- Gildan
- Choose fabric type (100% cotton is great for printing)
Step 5: Set Up Your Printing Space at Home
🛠️ What You Need:
- Clean space with good ventilation
- Storage for shirts and materials
- Table for heat press or screen setup

Basic Setup for Heat Transfer:
- Inkjet Printer (for transfer paper)
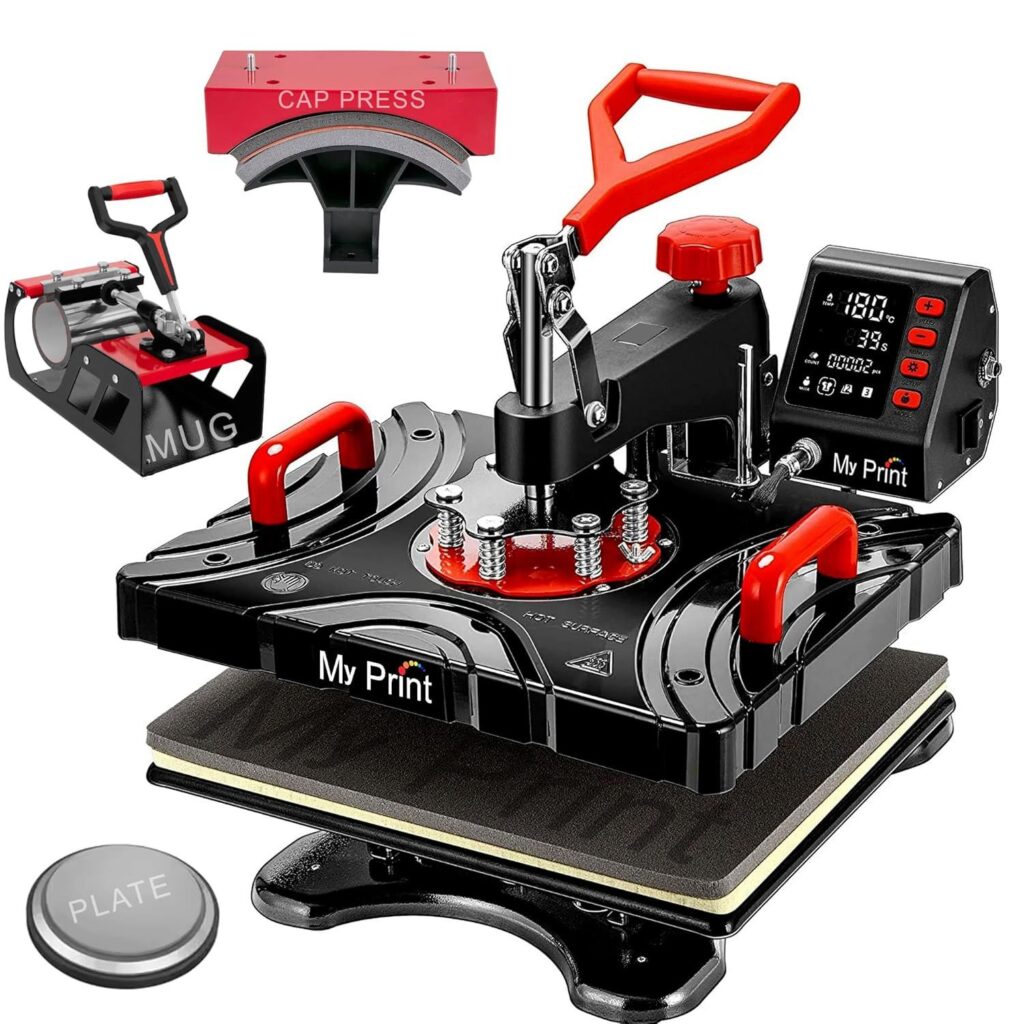
- Heat Press Machine ($150–$300)
- Heat transfer paper
- Teflon sheet (optional but useful)
Step 6: Print Your First Samples
👕 Tips:
- Test on old shirts first
- Adjust heat and pressure settings
- Check alignment and color quality
Step 7: Set Up Your Brand & Online Store
🛍️ Branding:
- Choose a business name and create a logo
- Use tools like Looka, Canva or Namecheap for branding
🌐 Selling Options:
- E-commerce site (Shopify, Wix, WooCommerce)
- Marketplaces (Etsy, Amazon, Redbubble)
- Social media shops (Instagram, Facebook)
Step 8: Price Your Products

💸 How to Price:
- Cost of shirt + printing + packaging + time = base cost
- Add 30-50% profit margin
- Check competitor pricing to stay competitive
Step 9: Promote Your Brand

📣 Marketing Ideas:
- Post content on Instagram, TikTok, and Pinterest
- Run Facebook or Instagram ads
- Collaborate with micro-influencers
- Offer giveaways and promo codes
Step 10: Fulfill Orders and Provide Good Service

📦 Tips:
- Pack shirts neatly with thank-you notes
- Ship quickly using USPS, FedEx, or your local courier
- Respond to customer inquiries fast
🚀 Optional: Scale Your Business
- Add hoodies, mugs, or hats
- Hire help for printing or fulfillment
- Open a Shopify store or integrate with dropshipping tools
📌 Final Checklist:
✅ Niche selected
✅ Designs created
✅ Printing method chosen
✅ Equipment and shirts sourced
✅ Samples tested
✅ Store set up
✅ Marketing launched
Step 1: Choose Your Selling Method
You have two main ways to sell online:
✅ 1. Your Own Online Store
- Full control over branding, pricing, and customer list.
- Higher profit margins.
- Needs more setup and promotion.
Platforms to use:
- Shopify – Easy to use, built for e-commerce.
- Wix – Drag-and-drop builder.
- WordPress + WooCommerce – Highly customizable.
✅ 2. Online Marketplaces
- Less setup; instant access to traffic.
- Lower margins (they take a cut).
- Less brand control.
Popular marketplaces:
- Etsy – Great for handmade or custom shirts.
- Amazon Merch – Print-on-demand, good for passive income.
- Redbubble / Teespring – Upload design, they print & ship.
Step 2: Take Great Product Photos
Even if you print at home, your product photos should look professional.
📸 You can:
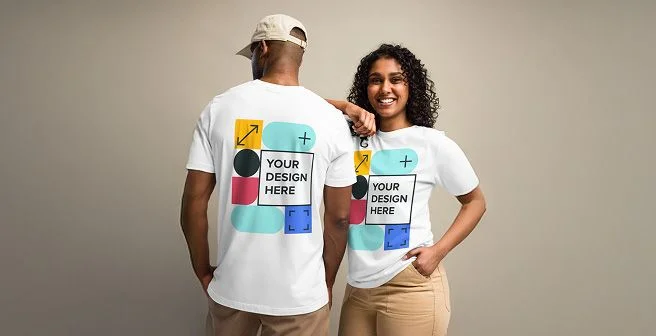
- Wear and model the shirts
- Use mockup generators (e.g. Placeit, Canva, Smartmockups)
- Show close-ups of prints and fabric texture
Step 3: Write a Compelling Product Description


A good description helps sell the shirt.
Include:
- What the shirt is about (story or vibe)
- Material (e.g., 100% cotton)
- Fit (unisex, slim, oversized)
- Size chart
- Care instructions
Step 4: Set Competitive Pricing
Example:
| Item | Cost |
|---|---|
| Blank T-shirt | $3–$6 |
| Printing (ink/paper) | $1–$2 |
| Packaging | $0.50 |
| Shipping | $4–$6 |
| Time & labor | — |
| Total cost | $8–$12 |
Then add 30–50% profit margin.
So sell for around $18–$25, depending on your niche and quality.
Step 5: Set Up Payment Options
You’ll need a way to collect money.
🔐 Use:
- PayPal
- Stripe (credit/debit card)
- Built-in checkout systems (Shopify, Etsy, etc.)
Step 6: Handle Shipping
If you print at home:
- Use poly mailers or boxes.
- Ship via USPS, UPS, FedEx or your country’s post.
- Consider adding tracking.
If you use print-on-demand:
- They handle the shipping (you just collect profits).
Step 7: Promote Your Shirts
🚀 Free Promotion:
- Instagram / TikTok: Show designs, behind the scenes, packaging videos.
- Pinterest: Great for evergreen traffic.
- Post to Facebook Groups in your niche (no spamming).
💰 Paid Promotion:
- Facebook Ads (target by interest, location, age)
- Google Shopping Ads
- Influencer shoutouts
Step 8: Take Orders and Provide Good Service
- Send order confirmation emails
- Respond to customers quickly
- Offer returns/exchanges if possible
- Ask happy customers for reviews
💡 Pro Tips for Selling More:
- Offer limited-edition or seasonal drops
- Run discounts or BOGO offers
- Bundle shirts (e.g., “3 for $50”)
- Collect emails for a mailing list (use Mailchimp or Shopify Email)
Want a Quick Start?
You can start with no inventory by using:
- Printify + Etsy
- Printful + Shopify
They handle printing, shipping, and fulfillment. You just upload designs and sell.